

Your Complete Guide to eSIM Cards and How They Work
Ever wondered why your phone doesn’t need a tiny plastic chip to connect to a network anymore? An eSIM card is a **built-in digital SIM** that lives inside your device, letting you switch carriers or add a data plan in minutes without visiting a store. You simply scan a QR code or use an app to activate it, and your phone instantly gets the network profile—no physical swapping required. It’s that simple: you pack more flexibility into your pocket, with the same reliability as a traditional SIM but zero waiting around.
What Exactly Is an Embedded SIM and Why Should You Switch?
An embedded SIM, or eSIM, is a tiny chip soldered directly into your phone, replacing the physical plastic card you normally pop in and out. Instead of swapping cards, you download a carrier profile digitally, which means you can switch networks in under two minutes. Why switch? Because you gain instant flexibility: travel to another country and grab a local data plan right from your phone’s settings, or keep two numbers active on one device—work and personal—without juggling two cards. Q: Is an eSIM more secure than a physical SIM? Yes, since it’s fixed inside the device, it can’t be lost, stolen, or swapped without your permission. You also free up the SIM tray slot, often used for expandable storage. For frequent travelers or anyone tired of tiny plastic shards, an eSIM simply removes friction from daily connectivity.
The Core Difference: Physical Plastic vs. A Chip Soldered Inside
The core difference between a physical SIM and an eSIM is structural: a traditional SIM is a removable plastic card holding a metallic chip, while an eSIM is a chip soldered directly onto the device’s motherboard. This means you can swap the plastic card between phones, but the embedded chip is permanently fixed—you cannot physically remove or replace it. With the plastic SIM, changing carriers requires ejecting the tray and inserting a new card. With the soldered eSIM, you switch profiles entirely through device software, eliminating the need to handle any hardware. The physical card occupies space inside the chassis and wears out with repeated handling, whereas the soldered chip has no moving parts, no tray, and zero user-accessible contact points, making it immune to damage from insertion or loss.
Which Phones, Tablets, and Smartwatches Support This Technology?
Most modern flagships already embrace this technology, so your next upgrade is likely eSIM-ready. Apple’s iPhone XS and newer models, including every iPhone 15, support it, while Google’s Pixel 3 and later devices are fully compatible. For tablets, the iPad Pro, iPad Air, and iPad mini (cellular versions) all accept an embedded SIM, making data-on-the-go seamless. In the smartwatch world, the Apple Watch Series 3 and beyond, plus Samsung’s Galaxy Watch series, rely on eSIM for standalone connectivity. Device compatibility hinges on your carrier’s eSIM activation support, so check before switching.
- Flagship Android phones from Samsung, Google, and Motorola since 2020
- Cellular iPads from the 2019 Pro models onward
- Apple Watch Series 4+ and Galaxy Watch 4+ for untethered calls
How Does a Digital Profile Get Activated on Your Device?
When you scan a QR code or tap a carrier-provided link, your device downloads the eSIM activation profile as a secure data package. The phone’s embedded chip validates the profile’s cryptographic signature against the carrier’s servers, then writes it to a dedicated, tamper-resistant storage area on the eSIM. After installation, the profile appears as a new cellular plan in your settings, but it only becomes live once you choose it as your active line and the device performs a network registration handshake with the carrier’s core network. This handshake confirms your subscription status and assigns a temporary network identity. From then on, the profile stays dormant until you manually switch to it or disable another plan, ensuring the digital profile remains inactive until you explicitly trigger its activation on your device.

Scanning a QR Code vs. Manual Entry: Step-by-Step Activation Methods
Activating an eSIM typically begins with scanning a QR code provided by your carrier, which embeds the SM-DP+ address and activation code. In your device’s cellular settings, select “Add eSIM,” then scan the code; the profile downloads and installs automatically within seconds. Manual entry is the fallback when the QR code is damaged or unavailable: you input the same activation code digits and SM-DP+ URL by hand into the “Enter Details Manually” field. This process is slower and prone to typographical errors, but it works offline. After either method, the profile appears in your SIM list; you then label it (e.g., “Travel”) and toggle it on, with network selection happening automatically.
QR scanning offers speed and accuracy, while manual entry requires careful transcription of the activation code and server address, yet both ultimately install the same eSIM profile.
What Happens to Your Old Number When You Add a New Profile?
When you add a new eSIM profile on your device, your old number is not automatically deleted. Instead, it remains stored as an inactive profile, provided your device supports multiple eSIMs simultaneously. The old number stays tied to its carrier account, but your device will no longer route calls, texts, or data through it unless you manually switch back to that profile. Your old number remains dormant, not cancelled, so you can revert to it anytime without contacting the carrier. However, if your device only holds one active eSIM at a time, adding the new profile may prompt you to disable the old one, keeping it available for future reactivation. You must explicitly erase the old profile to release that number permanently, which typically requires carrier confirmation.
Top Practical Benefits of Using a Built-In Chip for Travel and Daily Life
The most immediate payoff of a built-in eSIM chip is ditching the physical SIM tray entirely, which means you can switch travel plans on the fly without hunting for a tiny card or a paperclip at midnight. This enables you to download a local data plan before you even board your flight, so you land with live maps, ride-hailing apps, and translation tools already working, avoiding airport Wi-Fi chaos. For daily life, the built-in chip lets you hold two active numbers on one device, cleanly separating work and personal lines without carrying a second phone or juggling SIMs at the office. You also regain that physical slot for a memory card, which is a quiet win for photographers and offline music lovers who need extra gigabytes. *Yet the real magic is how instant switching becomes—you can test a new operator’s coverage for a weekend and revert back without ever touching a tool or waiting for activation.* Finally, the chip’s tamper-proof nature means you never lose connectivity to a dislodged card during a hike or daily commute. That’s the core practical edge: freedom from hardware, with speed and flexibility baked directly into your phone.
Switching Carriers Instantly Without Visiting a Store or Waiting for Delivery
Switching carriers instantly without visiting a store or waiting for delivery is a core operational advantage of an eSIM. Instead of purchasing a physical SIM and enduring shipping times, you download a new carrier profile directly to your device’s embedded chip within minutes. This eliminates trips to retail locations and removes the delay of a mailed SIM card. You can compare live data plans and activate a better rate while abroad or at home, all from the settings menu. This is especially valuable for travelers who land in a new country and need immediate connectivity.
- Activate a local plan within 60 seconds of landing, bypassing airport kiosks and delivery logistics.
- Switch between two active profiles mid-day without powering off the device or swapping trays.
- Keep your primary number for calls while using a temporary data-only carrier for high-speed internet.
- Revoke an underperforming carrier’s profile remotely and move to a https://baztel.co/ competitor before your billing cycle ends.
Managing Multiple Lines on One Handset for Work, Personal, and Data-Only Use
Managing multiple lines on one handset becomes straightforward with eSIM, as you can assign work, personal, and data-only profiles to distinct numbers without swapping physical cards. For work, keep a dedicated line for calls and messaging, while a personal profile handles social apps, and a data-only eSIM covers navigation or hotspot needs. To set this up, first activate your primary line on the physical SIM, then download the work eSIM profile, and finally add the data-only profile. You can label each line for clarity, and switch default data or call routing per app or contact, ensuring bills stay separate while multiple line management on one device remains seamless. This eliminates carrying two phones, though only one line is active for voice at a time unless dual-standby is supported.
Keeping Your Primary Number Active While Using a Local Data Plan Abroad
With an eSIM, keeping your primary number active while abroad becomes effortless: your home SIM stays live for calls and SMS, while a second eSIM profile delivers local data. This eliminates the need to swap physical cards or risk missing a banking OTP, a work call, or a family emergency. You simply toggle data to the local plan, yet your primary number remains fully reachable, ensuring no disruption to vital two-factor authentication or voicemail. This dual-line advantage means you never broadcast an expensive roaming data session to your carrier, yet you retain full communication reliability on your original line. It’s the only practical way to stay anchored to your home number without paying roaming rates for bytes.
Q: Can I receive calls on my primary number while using a local data plan on my eSIM?
A: Absolutely. Your primary line remains active for calls and texts, while the local eSIM profile serves all data needs. You answer or reject calls normally, with no forwarding tricks or secondary device required.
How to Choose the Right Data Plan and Provider for Your Needs
Choosing the right eSIM data plan starts with assessing your actual usage—estimate your typical weekly consumption for navigation, streaming, and messaging to avoid overpaying for unused gigabytes. Compare providers by checking their coverage maps for your specific destinations, not just their advertised “global” reach, since smaller regional carriers often offer superior local networks. Prioritize plans with flexible top-up options, allowing you to add data mid-trip without switching eSIM profiles or re-installing anything. For frequent travelers, a provider with a multi-country regional pass is more practical than juggling separate national plans, which require manual switching in settings. Always verify that your unlocked device supports the provider’s network frequencies, and check the plan’s validity period against your travel dates to prevent expiration before departure. A slightly pricier plan with 24/7 live chat support is worth it if you rely on data for remote work or urgent navigation. Finally, read recent user reviews about activation ease and real-world speeds, as these are the strongest predictors of satisfaction.

Evaluating Coverage Maps, Data Allowances, and Validity Periods Before Buying
Before committing to an eSIM, scrutinize the provider’s coverage map against your exact travel route—urban hotspots often hide rural dead zones. Cross-check the data allowance versus your actual usage, as video calls and navigation drain gigabytes faster than expected. Validity periods matter just as much: a 30-day plan may expire before your trip ends, forcing a costly top-up. For multi-country trips, verify that roaming agreements apply where you land, not just at departure. Compare active-day windows (24-hour blocks vs. fixed calendar dates) to avoid paying for unused time. Finally, confirm whether unused data rolls over if you extend the plan, ensuring no value is wasted.

Understanding Roaming vs. Local Plans: Which One Saves You More Money?
When comparing roaming versus local eSIM plans, the cost difference hinges on duration and data volume. For trips under five days with light usage, your home carrier’s roaming package often avoids the activation fee of a local plan. However, for stays exceeding a week or heavy streaming, a local plan typically undercuts roaming by 50–70% per gigabyte. To decide, calculate your total data need:
- Estimate daily consumption (maps, messaging, video).
- Multiply by trip days, then add 20% buffer.
- Compare that total against both pricing tiers.
If your estimate exceeds 3GB, local wins; otherwise, roaming may be cheaper due to zero setup hassle. Always verify coverage maps, as a local plan’s network reach can force additional purchases, negating savings.
Common Activation Pitfalls and How to Troubleshoot Them Quickly
You scan the QR code, but the eSIM card stays dormant—a classic pitfall. Often, activation failures stem from a missing network profile refresh. Restarting your device handles quick troubleshooting in most cases, forcing the carrier’s server to re-sync. Another frequent trap: your phone is locked to a previous carrier’s settings, so manually selecting the new network under cellular options resolves the silent drop. If the eSIM card shows “no service” after switching physical SIMs, disable the old SIM slot entirely—the phone fights for conflicting profiles. Finally, a corrupted QR scan bites you when the email or screenshot includes extra whitespace; zoom in, retry, or enter the SM-DP+ address manually. Timeouts occur on flaky Wi-Fi—switch to hotspot, then retrigger the download. These steps solve 90% of my daily activation headaches.
Why Is the QR Code Not Scanning and What Can You Do Instead?
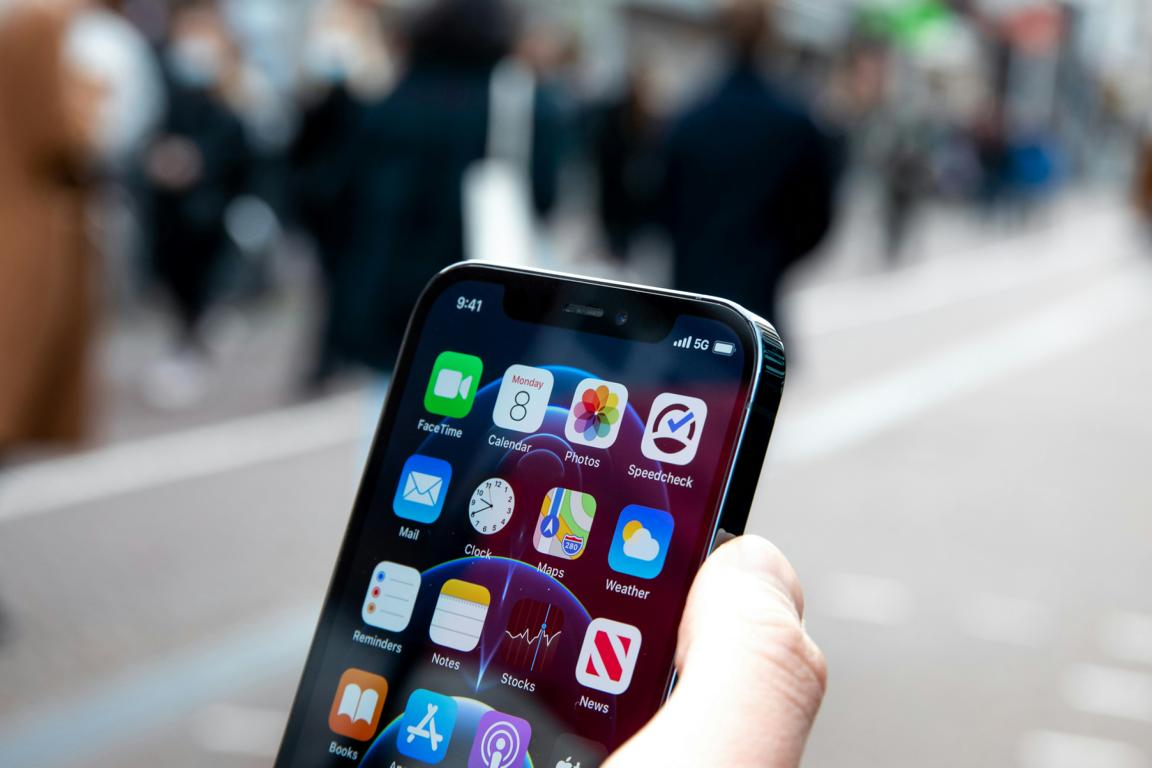
A QR code that refuses to scan usually points to a display or camera issue. First, check if the code is shown on a bright screen with no reflections or cracks, as glare is a common culprit. If you are using a physical card, ensure it is flat and well-lit. Clean your phone’s camera lens gently, and move closer or farther until the square fits the viewfinder. When scanning fails repeatedly, the best alternative is manual eSIM activation. Locate the activation details in your carrier’s email or app, then enter the SM-DP+ address and activation code under your phone’s cellular settings. For a direct fallback, contact your carrier to send a new QR code or install the eSIM via their app.
Dealing with “No Service” After Activation: Resetting Network Settings and Other Fixes
After activating an eSIM, a “No Service” indicator often stems from stale carrier data. Begin by toggling Airplane Mode for 30 seconds, then check if the network registers. If not, perform a **network settings reset** via Settings > General > Transfer or Reset > Reset Network Settings—this clears cached configurations without deleting your eSIM profile. For persistent issues, manually select your carrier under Settings > Cellular > Network Selection, disabling “Automatic.” Also verify that your device’s carrier settings update is current (Settings > General > About). If problems remain, reinstall the eSIM profile from your carrier’s QR code or app.
- Reset network settings before re-adding the eSIM profile.
- Check for a pending carrier settings update after activation.
- Manually select your home network if automatic registration fails.
- Ensure the eSIM profile is assigned to the correct line (not a secondary slot).
How to Permanently Delete a Profile When You No Longer Need It
When you’re done with a carrier, open your device’s cellular settings, tap the eSIM profile, and hit “Remove” or “Delete.” On iPhones, it’s under *Cellular > choose the line > Delete eSIM*; on Androids, look for *Network & internet > SIMs > erase the profile*. Confirm the pop-up, then restart your phone so the old profile fully clears from the modem. If the delete option is greyed out, toggle off the line first, then retry. Factory resetting also wipes it, but that’s overkill. Permanently deleting a eSIM profile frees storage for a new activation and stops billing data from lingering.
Go to cellular settings, select the eSIM, tap remove, confirm, and reboot—your profile is gone for good.